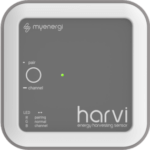
If you use an external CT for the Myenergi Eddi device, you need to follow the followings steps to ensure your Myenergi Eddi works as smooth as possible.
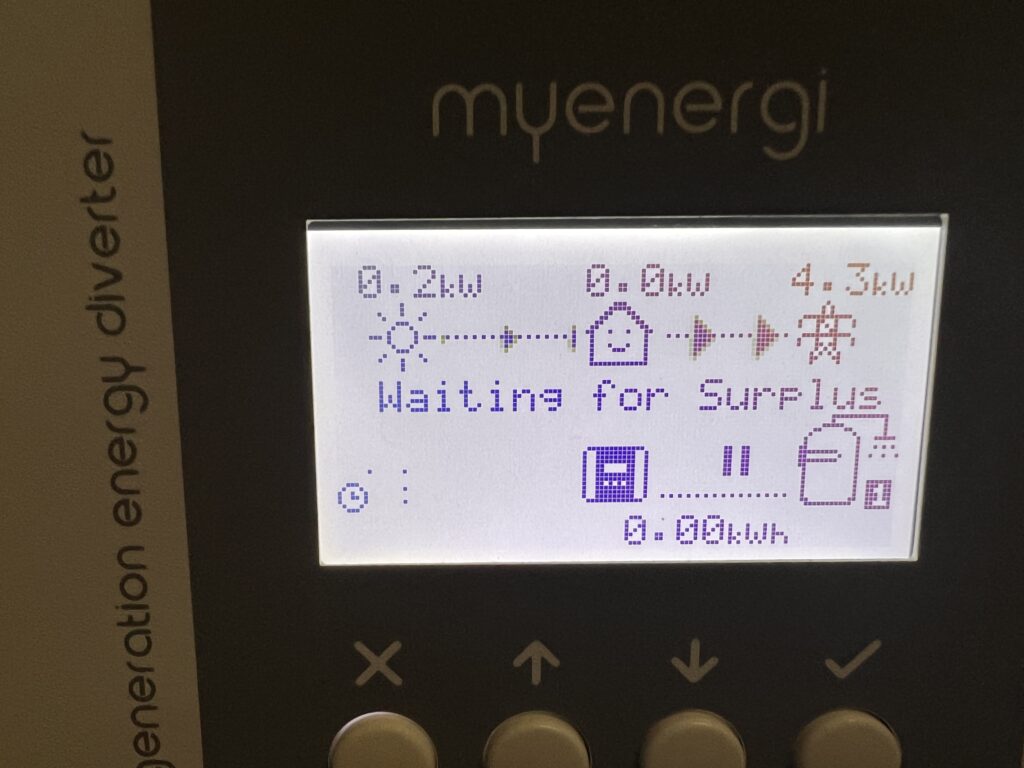
- The first thing you need to do is to Enter the Eddi menu by pressing the X
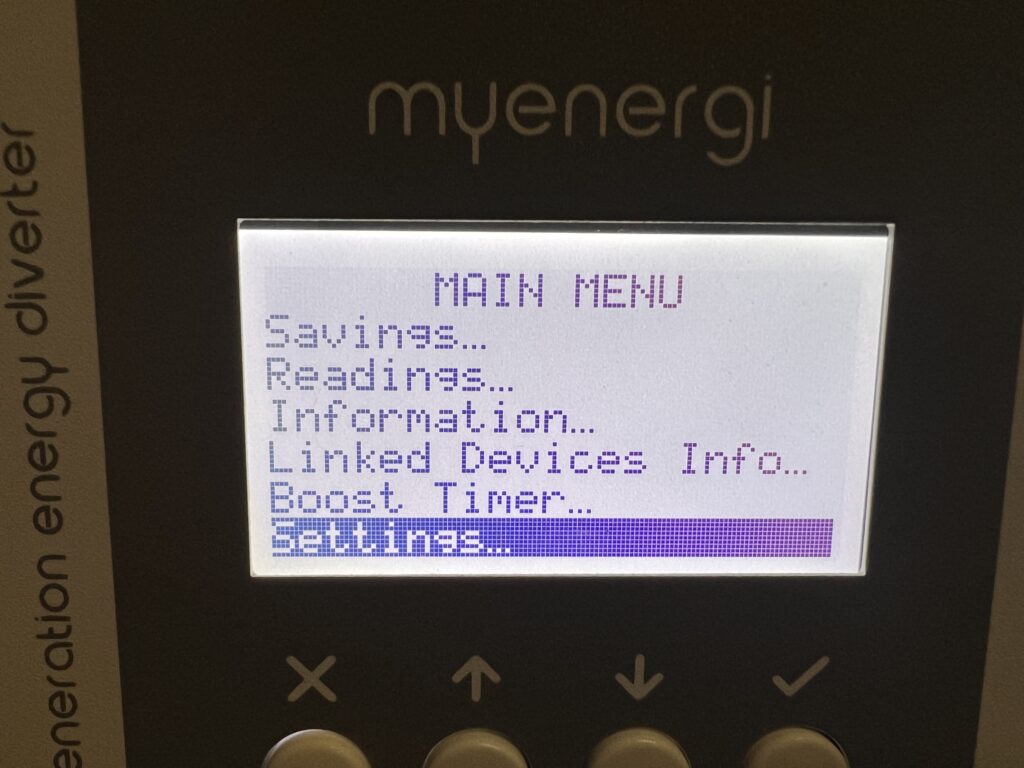
2. locate the Settings, then press the Tick button (4th from the left)
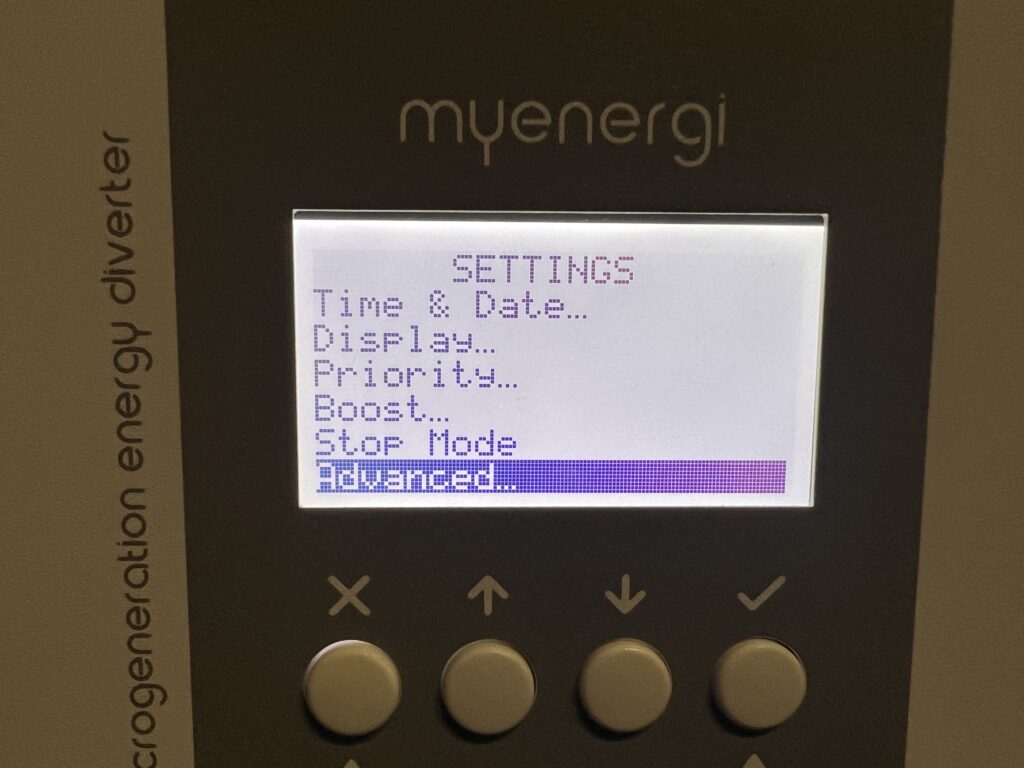
3. locate the Advanced, then press the Tick button (4th from the left)
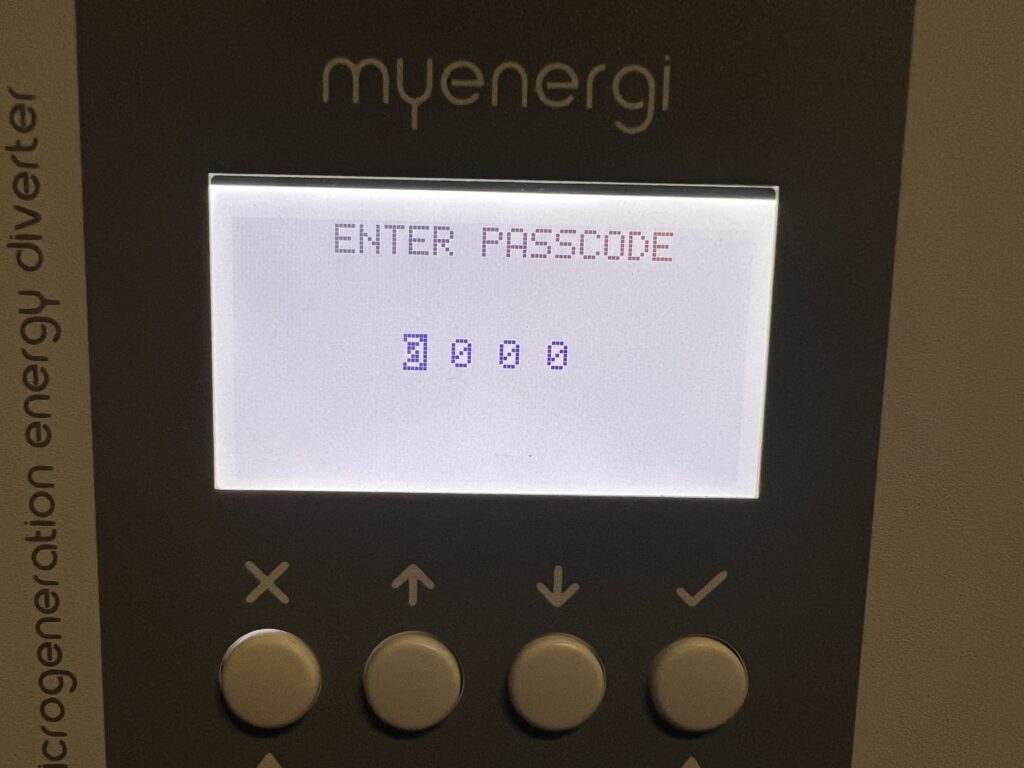
Step 3) Enter Pass code (default: 0000)
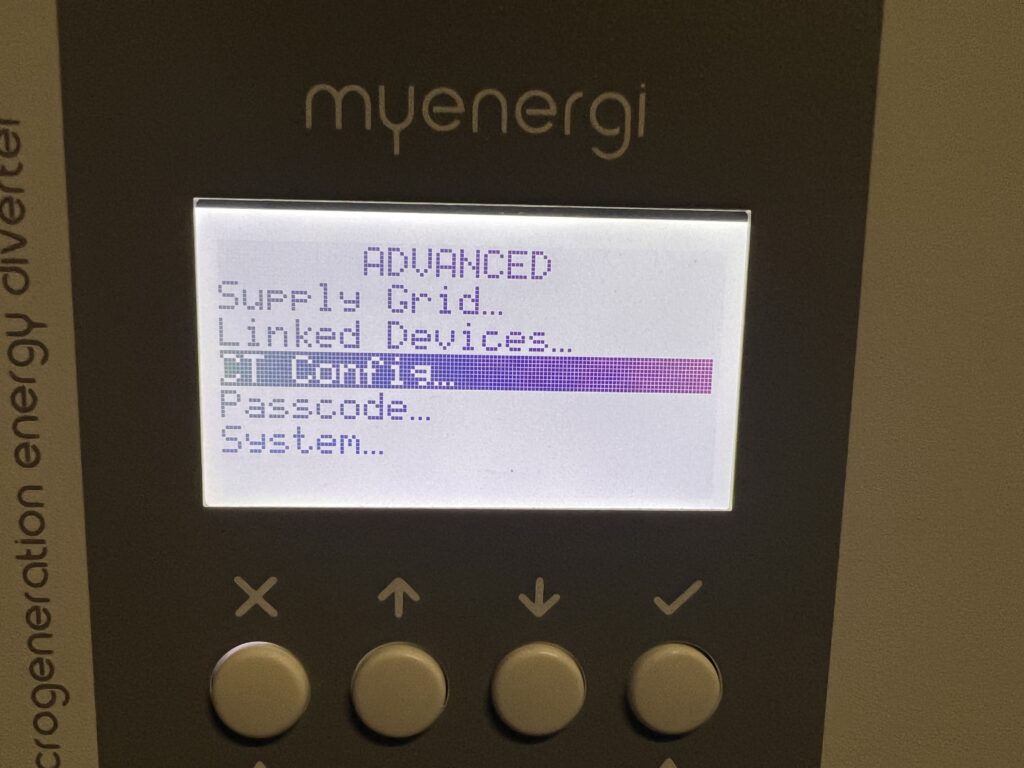
Step 4) Go to CT Config
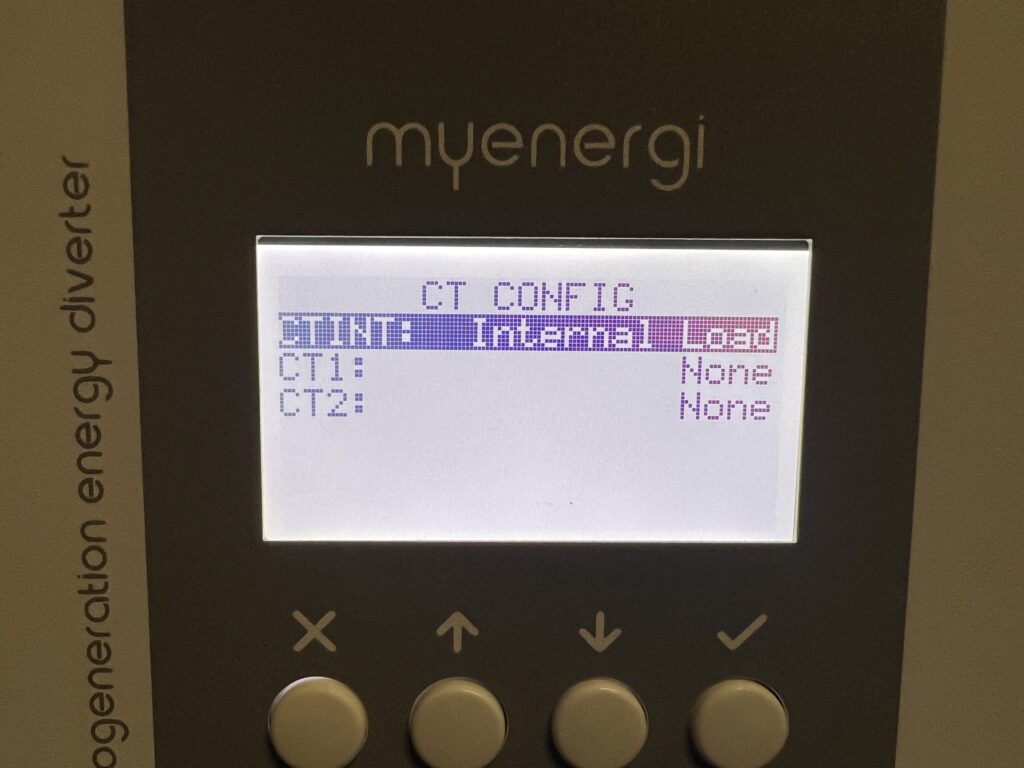
Step 5) Verify that Internal CT’s are off, If its ON, make sure you turn both internal CT off.
Step 6) Go Back to Advanced and find “Linked Devices”
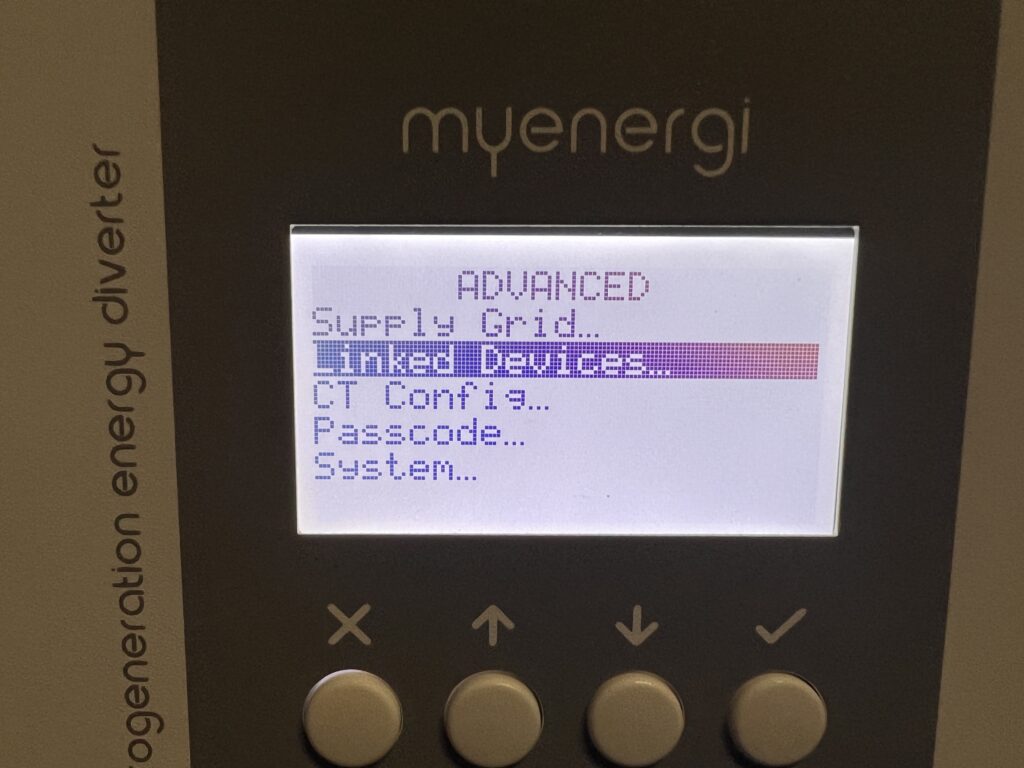
Step 7) Click on Linked Devices & Ensure that Set Master is ticked
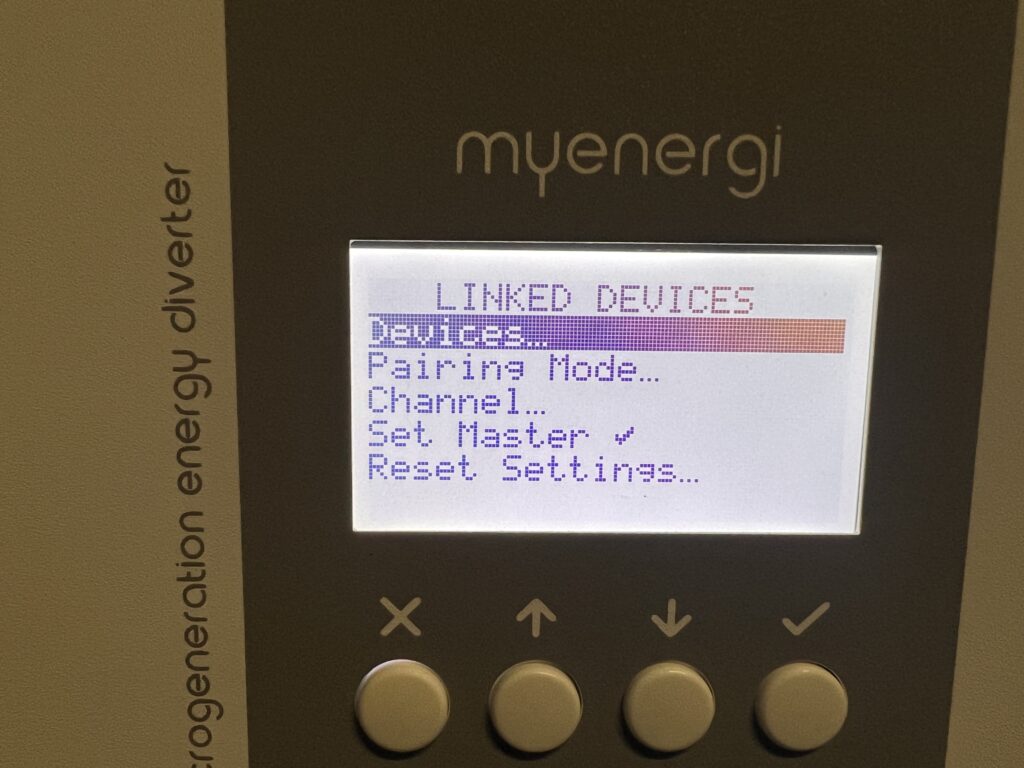
Step 8) Locate your Myenergi Harvi under the “Devices” Menu
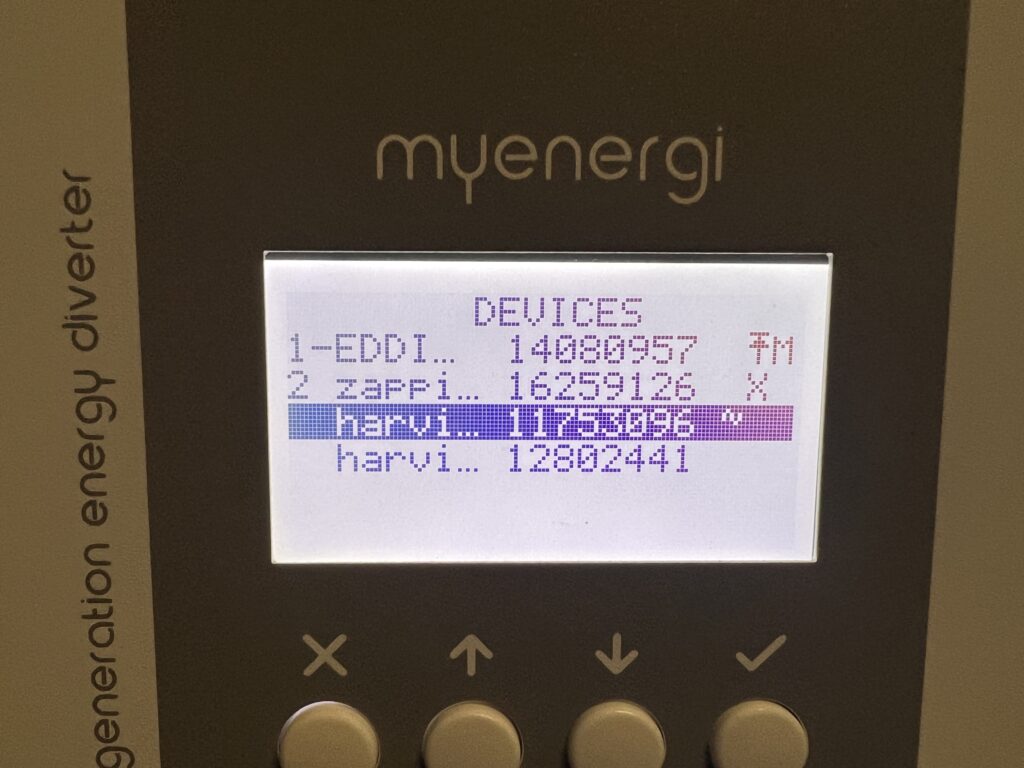
Step 9) Select your Harvi and Press the Tick button
Then. Grid Phase (1phase or 3 phase) & Set CT1 as Grid
Step 11) go back to the main screen by pressing the X couple of times – The Grid Import & export should show up on the Eddi Main Screen

See a Video Tutorial on this here:
Please find downloadable docs below:


